How to Start Blog at WordPress for Free?
WordPress is the free open-source software- meaning it’s free and is out there for any to use. it’s easy to use and also modify through hosting, themes, and plugins. It puts the ability of web publishing in our pockets.
WordPress is the most powerful software that requires more knowledge of how to use it. Talking about WordPress, it is also known for its extensions and plugins but WordPress is not that easier to install as well as implement. WordPress user requires a little bit of knowledge or the ability to follow some tutorial to use.
WordPress started as a blogging platform that always focuses on blogging options. With a little bit of technical knowledge, it will drag users a long way in helping a powerful blog with the perfect theme needed. Today WordPress powers 33% of all websites. It consists of all blogging features a user will ever need. It comes out with Gutenberg Block Editor which allows users to create a beautiful layout for blog posts.
Table of Contents
Requirements to create a Blog
This guide mentioned below is to start your own blog by using self-hosted WordPress. Self-hosted WordPress makes sure that you’re in full control.
Here is the step-by-step guide you should follow to create your own blog:
- Firstly, you need to sign up for web hosting.
- Select a hosting plan
- Then, select a domain name you want for your blog
- Complete hosting registration
- Install WordPress then write your first blog
- Post your Blog
So, let’s go with the step by step means :
Step 1: Buy your domain name and hosting
It just takes two things to make your blog accessible around the world.
And, if you’re not known about domain and hosting let us make yourself comfortable first.
Domain
Domain refers to your blog’s permanent address. Your domain names are used in URLs so as to identify particular Web pages. They are created to make your IP address easy to remember.
Hosting
Hosting is said to be the engine that powers your website. Websites all over the world use hosting. Websites are accommodated on special computers called servers. When Internet users want to look at your website, all they have to do is type your website address or domain into their browser.
If you’re confused about which hosting to be used, we highly recommend you set up your blog with a blue host. We have chosen Bluehost for the purpose of this tutorial. It is a fantastic and popular hosting company that lets you start your WordPress blog for as little as $2.75 per month. The lowest-priced option gives you a Free domain, an SSL certificate that will make your site more secure, the option to install WordPress through a few clicks, and 24/7 support.
Look in on the Bluehost site
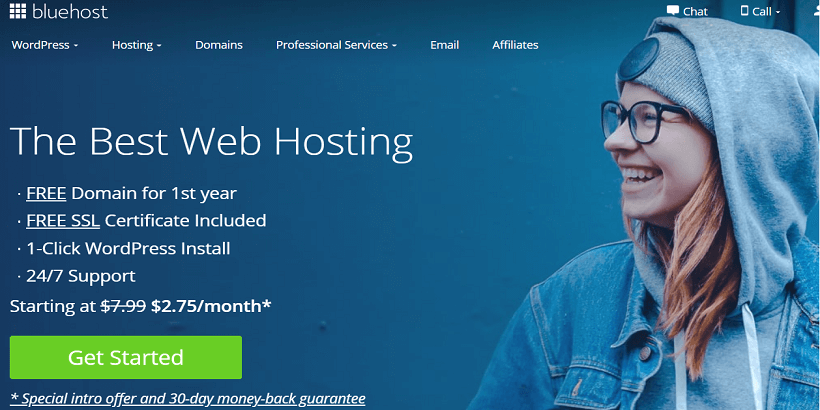
Firstly, go to Bluehost.com. Then click on the “get started now” button.
Determine a Hosting Plan to Start a Blog
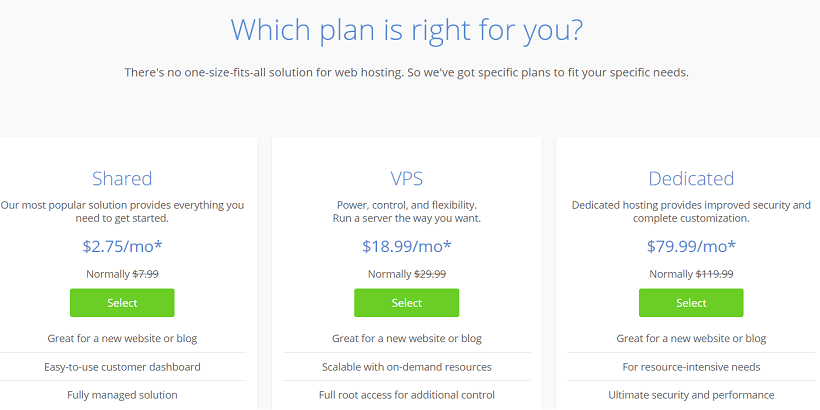
If you’re in the beginning phase, choose the basic plan as it will cover all the fundamental needs of your site’s functioning.
After your blog takes off and starts getting more and more traffic, you can upgrade to the prime version of the hosting plan
Insert a domain name
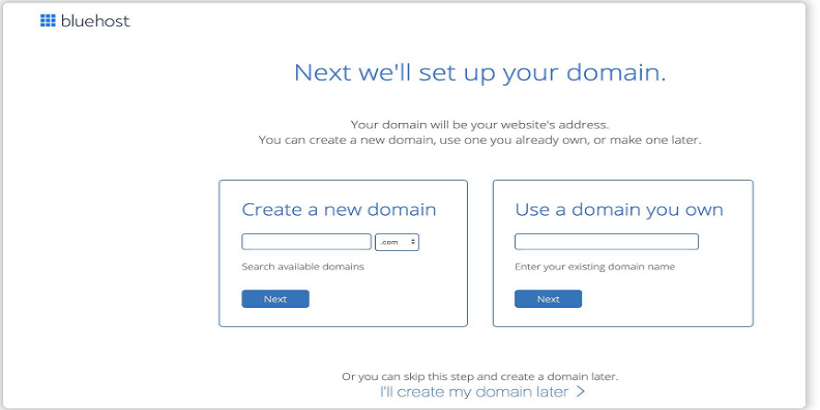
If you’re a beginner and this is your first time with a WordPress blog, you should register a new domain. You should enter a name and then choose the extension from the drop and down menu next to it. You can choose any including .com, .net and .org to name a few.
After you click the “Next” button, Bluehost will check the domain and make sure it’s available or not. You can proceed with the registration once you know the domain name is free for usage. You will have to select another name if it’s not available.
Register your Bluehost Account
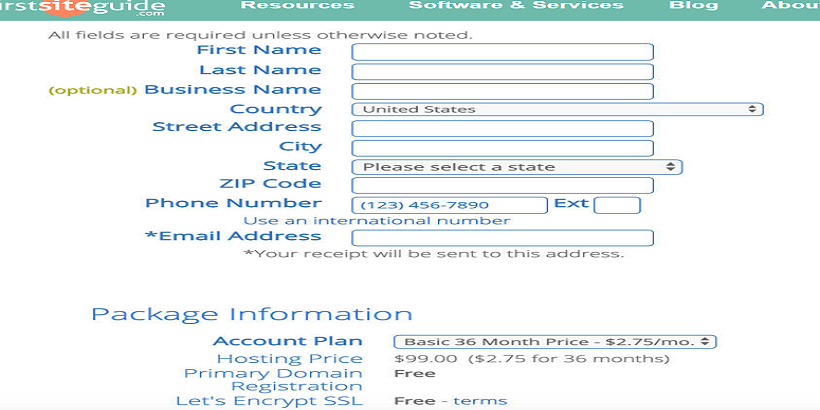
After that Bluehost will get you on to the registration form. This is where you should fill in the billing details along with personal information.
Choose your Hosting Option

12- months Bluehost package offers you the basis at the lowest price.
Set your Password
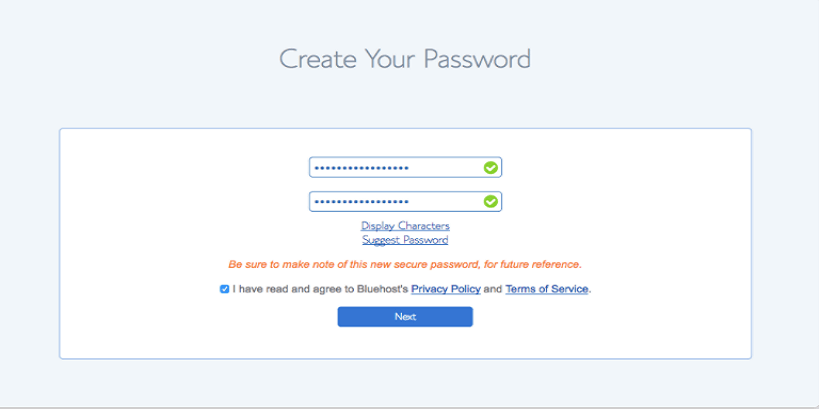
After you enter your payment information, you should enter your password. This is the final step in registering yourself with Bluehost. The password you enter here will be used for verification purposes.
Login to your account
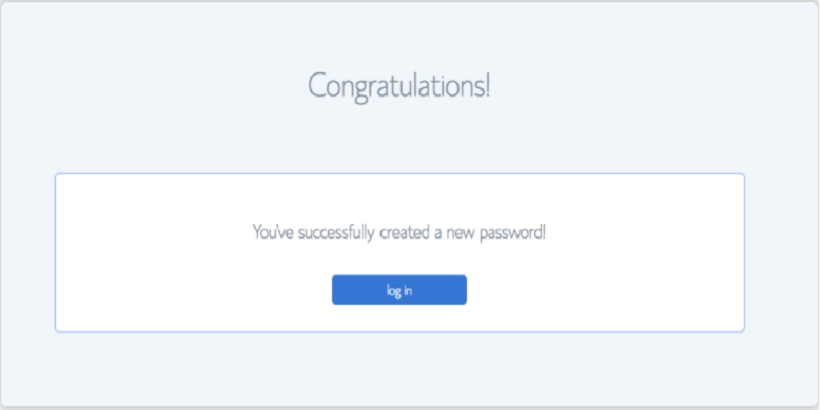
Congratulations! Now you’re officially the proud owner of this new website. Now, log in to your Bluehost account and proceed with the setup.
Select your desired WordPress Theme
After this, you should choose a WordPress theme. Always pick the theme that suits your brand and makes sure to make the website of your dreams or the website you always wanted.
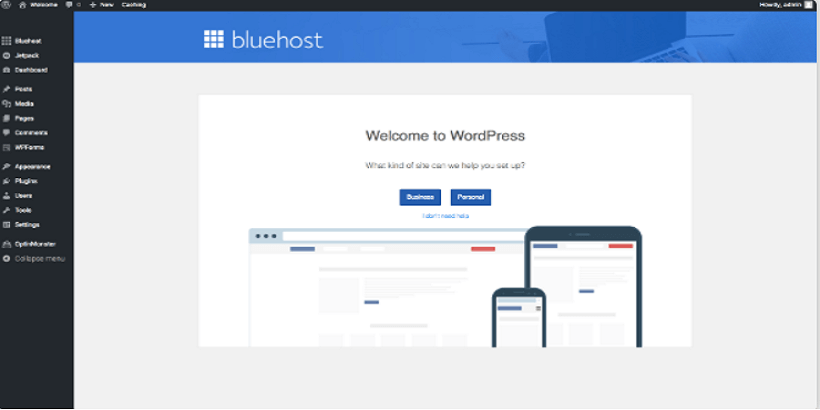
Welcome to your WordPress Account
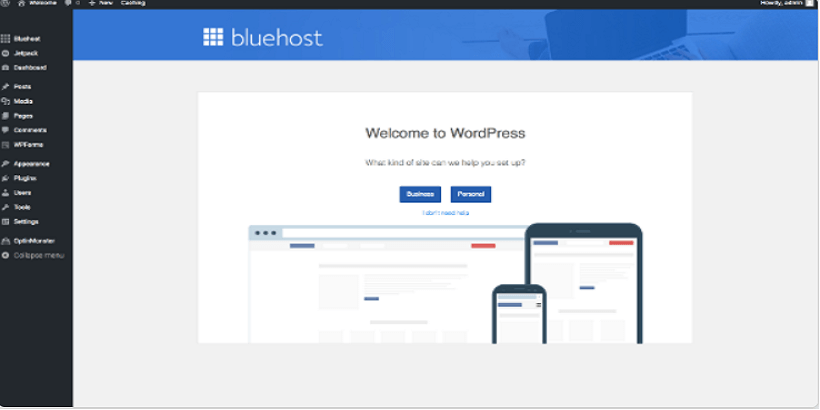
Once you log in, you’ll be greeted by a “Welcome’’ message. After that, Bluehost will guide you in creating a blog. If you don’t need supervision while setting up, it also offers you the option to continue on your own.
Select your theme and design your blog
Maintain WordPress Websites
The front end
This specific page will be visible to your visitors at times when they access your site. The customization of your theme, plugin functionality which is usually performed in the back end will be visible to your visitors in the front end. The front end also allows actions like commenting and sharing on social media platforms.
The back end
The back end is also commonly known as the WordPress dashboard. This is where you can oversee and manage every part of your content.
Interpretation of WordPress Dashboard
Firstly, you should know that dashboard is the administration panel from where you will build, control, and customize your site. We can easily customize all the themes from the WordPress dashboard. If you ever need any additional features, you can add a theme by installing plugins.
The basic elements of a site are pages, posts, portfolio items, and media. For every custom type, there are menu options to add/delete, and edit items. If you ever add other elements to the site, the same logic will be followed. Once you start working, the dashboard will become very familiar and you feel very easy to work with.
Explore your WordPress dashboard, take your time and try different tools and features that are available, and make your website of dreams!
Amazing writeup! . Among so many things, the niche of your blog & web hosting plays a crucial role. And keyword research is also a fundamental part.